How to Connect Stripe and Start Accepting Payments on ServiceLeo
A complete step-by-step guide to linking your Stripe account to ServiceLeo — so you can collect deposits, full payments, and fees right at booking time.
Sarah Williams
Operations Lead
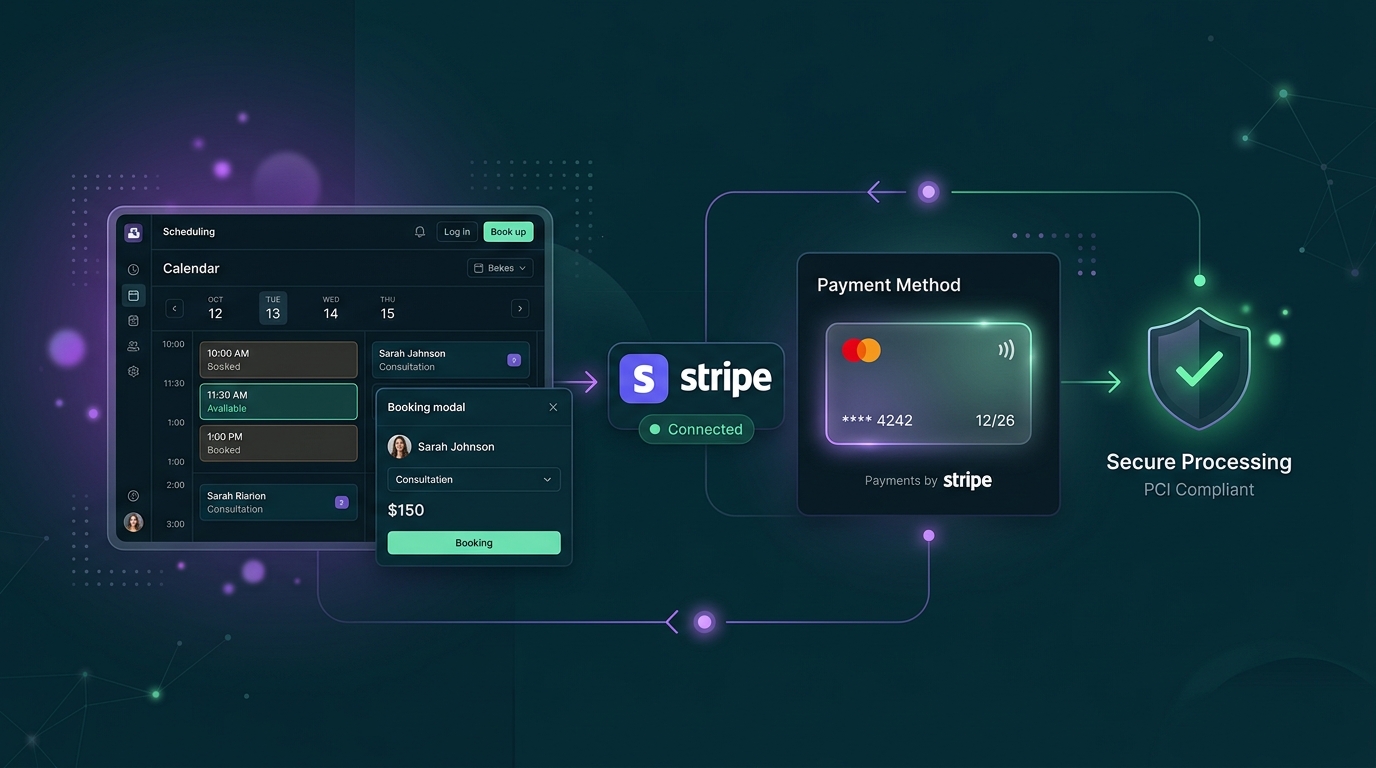
Accepting payments on ServiceLeo is powered by Stripe — one of the world's most trusted payment platforms. This guide walks you through every step: enabling payment collection on your booking page, connecting your Stripe account, completing Stripe's identity verification, and what to expect while you wait for approval.
Before you start: You'll need a Stripe account (free to create at stripe.com), or you can create one directly during the connection flow. ServiceLeo takes a 1% commission per transaction on top of Stripe's standard processing fees.
Part 1 — Enable Payment Collection in ServiceLeo
Payment collection is configured per booking page. Open the page where you want to collect payments in the Pages editor, then navigate to the Collect Payments tab.
Open your booking page editor
In your ServiceLeo dashboard, click Pages, then click Edit on the booking page where you want payments enabled.
Go to the Collect Payments tab
Inside the page editor, select the "Collect Payments" tab from the top navigation. You'll see the section header "Calculate booking prices & take payments" with a toggle switch.
Enable the toggle
Flip the switch to the ON position (it turns green). This reveals the payment settings panel: currency selection, price, and the Stripe integration area below.
Select your currency
Choose the currency you want to bill clients in. This is the currency that will appear on their payment screen and on your Stripe payouts.
You can change currency later, but existing payment records will remain in the original currency.
Set your price
Enter a fixed price for the appointment. If you have Appointment Types enabled on this page, pricing is controlled per appointment type instead — you'll see a link to configure it there.
Part 2 — Connect Your Stripe Account
Below the currency and price fields, you'll find the Payment Integration area. When no account is connected, it shows the Stripe connection card.
Click "Take payment for your bookings"
The Stripe card shows the purple Stripe "S" icon with the message "Integrate with your Stripe account to accept credit card payments for your bookings." Click anywhere on the card to begin.
You're redirected to Stripe
ServiceLeo calls the Stripe Connect API and immediately redirects you to stripe.com/setup. Everything from here happens on Stripe's secure platform — ServiceLeo never sees your banking credentials or identity documents.
Part 3 — Complete Stripe's Onboarding on stripe.com
Once you land on Stripe, you'll be guided through their hosted onboarding flow atconnect.stripe.com/setup. The exact screens you see depend on your country and business type, but the flow always covers four areas:
A — Personal Information
Stripe starts by verifying who you are as an individual:
Legal full name
Must match your government-issued ID exactly.
Date of birth
Used for identity verification.
Home address
Physical residential address — a PO Box is not accepted here.
Email address
For Stripe account communications and dispute notifications.
Phone number
Used for two-factor authentication and account recovery.
Social Insurance Number / SSN (last 4 or full)
Required in Canada and the US for KYC compliance. The level of detail depends on your country and transaction volume.
B — Business or Professional Details
Stripe asks how you operate — even solo professionals qualify as "individuals" here:
Business type
Individual / Sole Proprietor, Company, Non-profit, or Government entity.
Industry / business category
Select the category closest to your service (e.g. Health & Wellness, Professional Services, Education).
Business or professional website
You can use your ServiceLeo booking page URL as your website if you don't have a separate site.
Registered business name & number
Only required if you operate as a registered company. Sole proprietors can skip this.
Business address
If different from your personal address. Required for registered businesses.
C — Government-Issued Identity Document
Stripe may ask you to upload a photo ID to confirm your identity. This step is triggered based on your country, account type, and expected payment volume.
Passport
Accepted globally. The photo page must be clearly readable with no glare or cutoff.
Driver's licence
Front and back may both be required. Must be government-issued and not expired.
National identity card
Accepted in most countries. Must show your full name and date of birth.
💡 Tip: Take your ID photo in good lighting on a dark flat surface. Stripe's scanner rejects blurry images immediately — you'll save time by getting a clear shot on the first attempt.
D — Bank Account for Payouts
The last step is adding the bank account where Stripe will deposit your earnings. Stripe supports two methods:
Instant verification (Financial Connections)
Stripe connects to your bank directly. You log in to your bank within the Stripe flow and it verifies ownership instantly — no documents needed.
Manual entry
Provide your institution number, transit number, and account number. Stripe sends two micro-deposits (under $1) within 1–2 business days that you verify to confirm ownership.
Part 4 — Back in ServiceLeo: What Happens Next
After completing Stripe's flow, you'll be redirected back to your booking page editor in ServiceLeo with a stripe_sync=true parameter in the URL. ServiceLeo automatically syncs with Stripe's webhook to confirm your account status.
The three states you may see:
"Account Linked — Enabled for charges & payouts." Your Stripe account is fully verified and your booking page will now collect payments immediately.
"Onboarding in progress." You started the Stripe flow but didn't fully complete it, or Stripe's verification is still running. Click Continue Setup to return to Stripe and finish. After completing onboarding, allow up to 30 minutes for Stripe's verification webhook to update your status here.
The Stripe card is shown again. Click it to restart the connection flow from the beginning.
⏱ Verification timing: For most sole proprietors using instant bank verification, the process completes within a few minutes of finishing the Stripe flow. If you used manual micro-deposit verification or uploaded identity documents, allow 1–2 business days for Stripe to complete the review. You'll receive an email from Stripe when your account is approved.
Managing Your Stripe Connection
Once connected, the Payment Integration card shows your masked Stripe Account ID and two actions:
Refresh Status
If you completed onboarding on Stripe but ServiceLeo still shows "Onboarding in progress", click Refresh Status. This re-triggers the sync with Stripe's API to fetch the latest account state. Allow up to 30 minutes after completing Stripe onboarding before clicking refresh.
Unlink
Permanently disconnects your Stripe account from this ServiceLeo account. Existing bookings are unaffected, but new bookings will no longer collect payment until you reconnect. This action is immediate and cannot be undone without reconnecting.
You're Ready to Get Paid
With Stripe connected and your booking page saved, every new appointment that matches your active payment settings will require a card at booking time. Clients see a secure Stripe checkout embedded in your booking flow — they never leave your page — and the payment lands in your Stripe account immediately, with payouts deposited to your bank account on your Stripe payout schedule (typically 2 business days for Canadian and US accounts).
💡 Pro tip: You can connect the same Stripe account to multiple booking pages — just repeat Part 1 on each page. ServiceLeo links them all to the same Stripe account ID, so all revenue consolidates into one Stripe dashboard.
Put this into practice with ServiceLeo
Set up your first booking page in 10 minutes. Free forever, no credit card required.
Start for free